Step By Step Guide: How To Clean A Grill With A Brush
May Contain Affiliate Links
Effortlessly clean your grill with a high-quality brush. Discover effective techniques to remove stubborn residue and maintain a safe, flavorful grilling environment. Explore the best grill brushes for a spotless, well-maintained grill.

Grilling season is a time of sizzling flavors and outdoor gatherings, but a well-maintained grill is essential to ensure your food’s taste and safety. Using a grill brush is a key tool in this maintenance routine, helping you remove stubborn residue and prevent buildup that can affect both the taste of your dishes and the performance of your grill. In this article, we’ll guide you through the process of cleaning a grill using a brush, sharing tips and techniques to keep your grill in optimal condition.
Weve all been there, invited over for a cookout and the host opens the grill. What you see is the stuff of nightmares. A grease fire waiting to happen, not to mention the possible contaminiation of the food.
Gross, so what can you do about it to ensure your guests never feel that way about your own grill at home?
Why Clean Your Grill:
A clean grill not only guarantees better-tasting food but also promotes safe cooking conditions. Residue from previous cooking sessions can harbor bacteria and cause flare-ups, potentially impacting your health and the quality of your meals. Regular cleaning also extends the lifespan of your grill by preventing corrosion and deterioration.
Supplies Needed:
- Grill brush (stainless steel bristles are effective for most grates)
- Warm, soapy water
- Bucket
- Cloth or paper towels
- Disposable gloves (optional)
Step-by-Step Guide for Cleaning Your Grill:
1. Safety First:
Ensure that your grill is completely cool before starting the cleaning process. Safety is paramount, and handling a hot grill can lead to burns. You also want to make sure you have proper equipment such as grill gloves or even safety glasses.
2. Preparing the Grill:
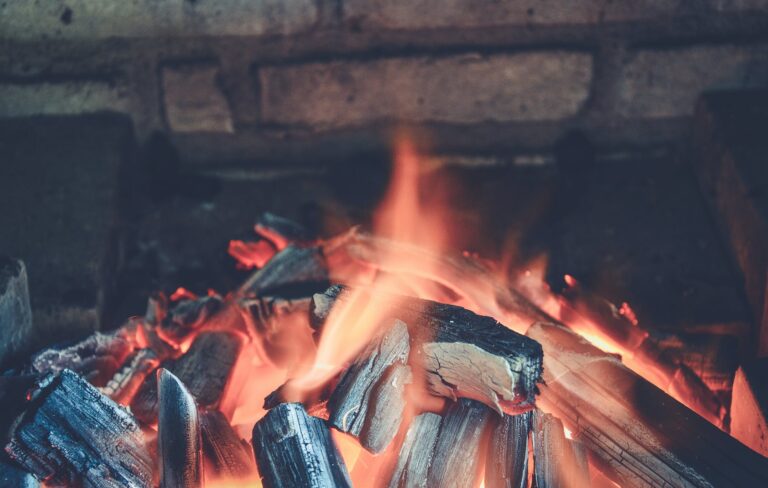
Start by removing any ashes or debris from the bottom of the grill using a brush or a designated ash tool. Emptying the grease tray or cup will help prevent flare-ups. Always have trash bags on stand by, but you can actually sprinkle your ashes on the yard for some free fertilizer if you’d like.
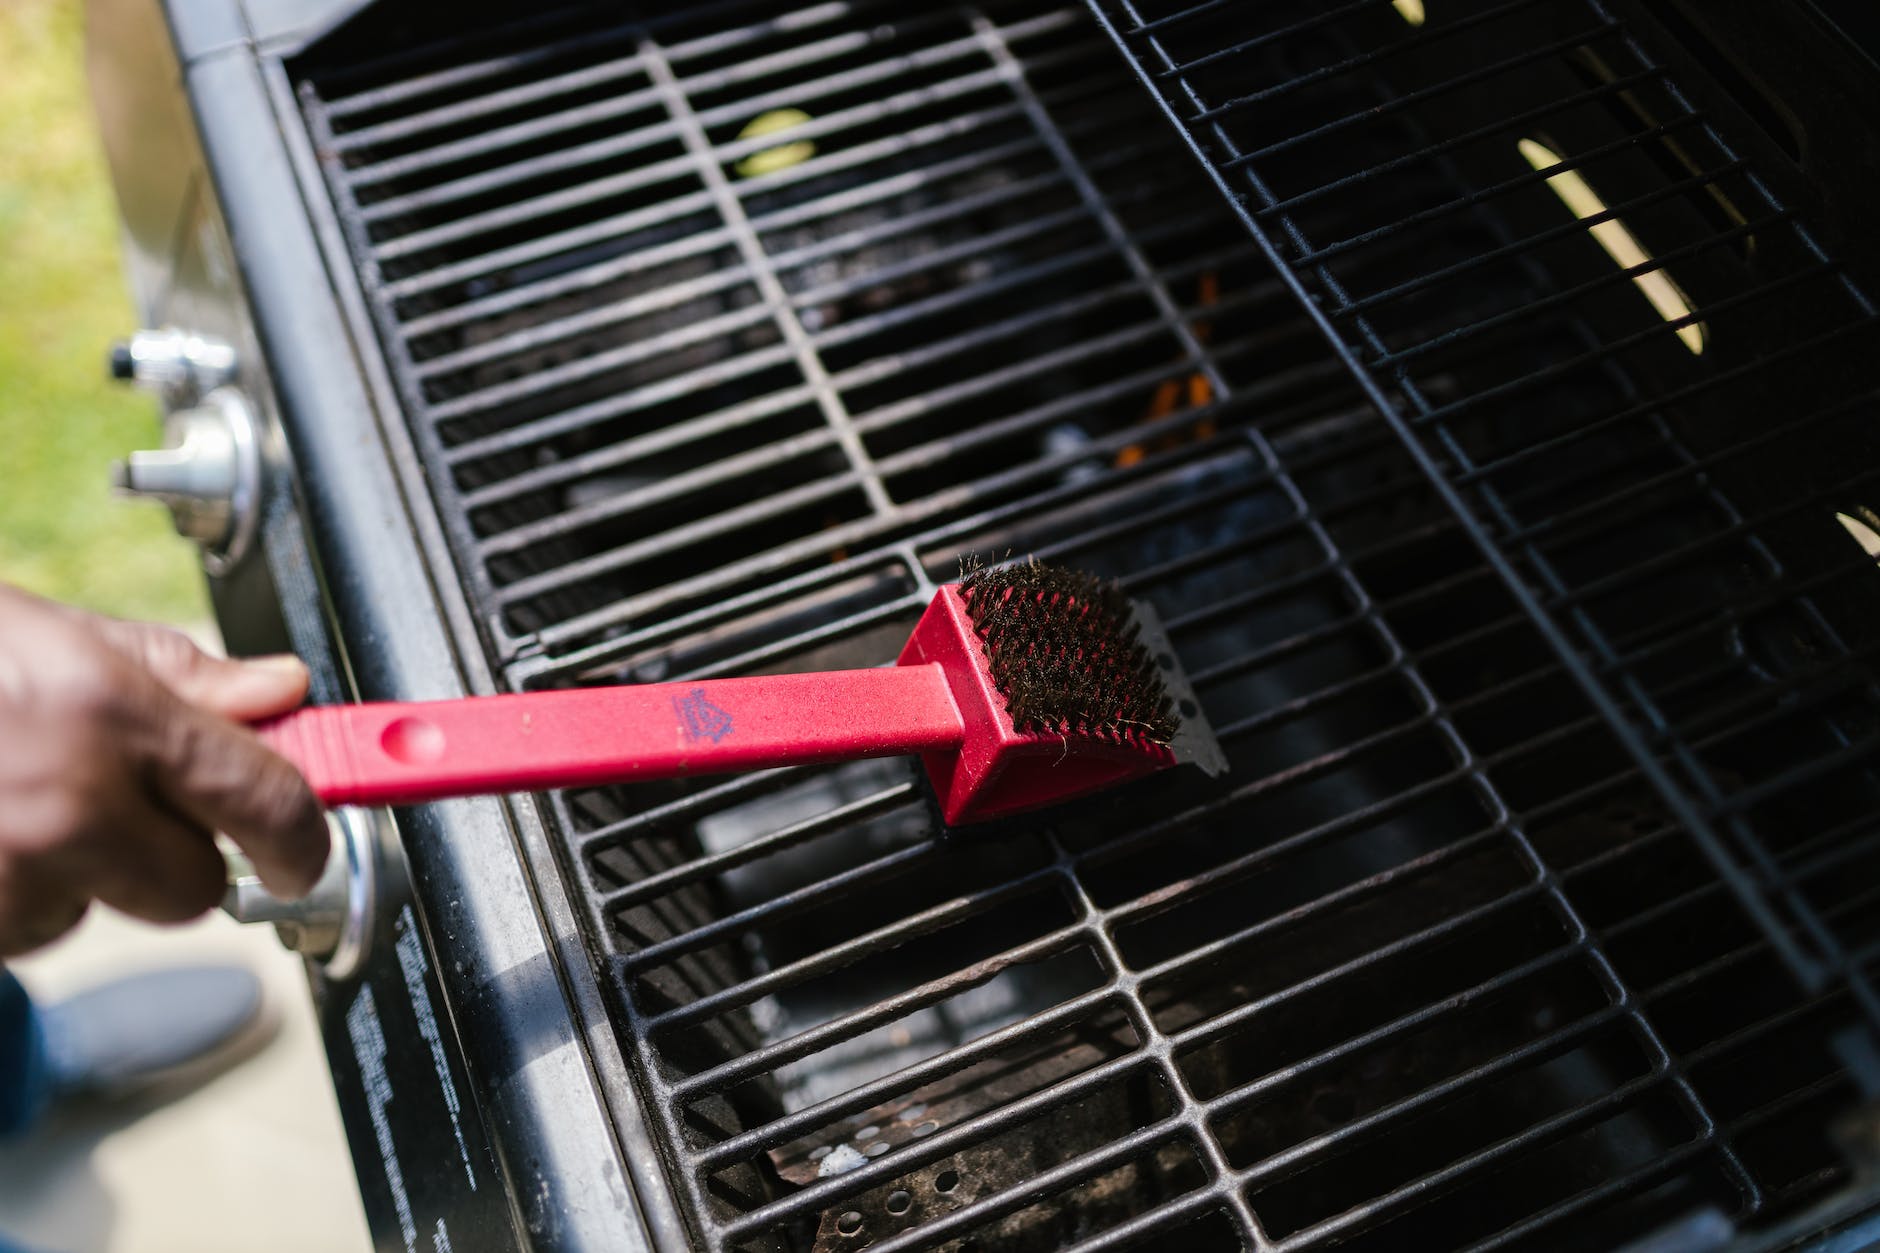
3. Brushing the Grates:
Wearing gloves (if desired), begin brushing the grates while they are still warm. Using the grill brush, scrub the grates in a back-and-forth motion. Apply some pressure to dislodge any stuck-on residue. Be sure to use a qualiy brush to ensure the bristles don’t come off during this process.
4. Tackling Stubborn Residue:
For particularly stubborn residue, dampen a cloth with warm, soapy water and gently scrub the grates. This added moisture can help loosen tough buildup. Be sure to rinse the grates thoroughly afterward to remove any soap residue. If using cast iron grates, you may need to re-season your grates after this step.
5. Cleaning the Hood and Interior:
If your grill has a hood, open it and inspect the interior. Brush off any residue or grease buildup on the interior walls and ceiling of the grill. Use the grill brush to clean the cooking grates on the other side as well.
6. Drip Pan and Grease Tray:
Remove the drip pan or grease tray and empty its contents. Clean it with warm, soapy water to remove any grease. This prevents clogs and ensures proper drainage during cooking. You can find aluminum grease trap liners to make this step easier in the future.
7. Final Touches:
Once you’ve thoroughly cleaned the grill grates, interior, and drip pan, wipe down any remaining surfaces with a cloth or paper towel. This will remove any lingering residue and leave your grill looking polished. Try not to use any harsh chemicals as it can both be a detriment to the cooking surfaces, as well as linger into the flavors of your cooks.
8. Regular Maintenance:
Incorporate grill brushing into your routine after each use. Regular cleaning makes the task easier and prevents heavy buildup.
What I like to do is, after each cook, I crank the heat of my grill up, burn off any residue, and after it cooks simply brush the grate off and oil it (Mine are cast iron)
Using a grill brush to clean your grill is a straightforward yet essential process to ensure the longevity of your equipment and the quality of your culinary creations. By following this step-by-step guide, you can maintain a clean and safe grilling environment that enhances the flavors of your dishes and creates a memorable outdoor cooking experience. So next time you grill, be sure to take that extra step and clean your gril off properly with a quality grill brush.


One Comment
Comments are closed.